Magical Monochromes: How to transform existing repeat patterns into monochromes in Procreate
- jasminehnatkova
- Aug 22, 2025
- 3 min read
Today, we’re diving into the elegant, versatile world of monochrome patterns. It's a design staple that’s anything but boring!
In this post I'm going to show you a really quick trick to transform your existing patterns into monochromes.
This is the kind of time saving hack I LOVE as it enables you to create some new and beautiful artwork from pieces you have already made.

What is a monochrome pattern?
A monochrome pattern uses a single hue, often with variations in tone (light/dark) or saturation. While “black and white” is the most common example, monochromes can be in any color.
Monochromes are great as secondary or blender prints in a pattern collection as they can easily be matched to your colour palette.
They are also great for bulking up your spoonflower shop as it is relatively easy to change the colours and give people multiple colourways.
They are good patterns to have on hand for clients as the colour can easily be tailored to specific palette requests.
Why change a full colour pattern into a monochrome?
If you have taken my Procreate Patterns Class you will recognise this pattern, which I created during the class.
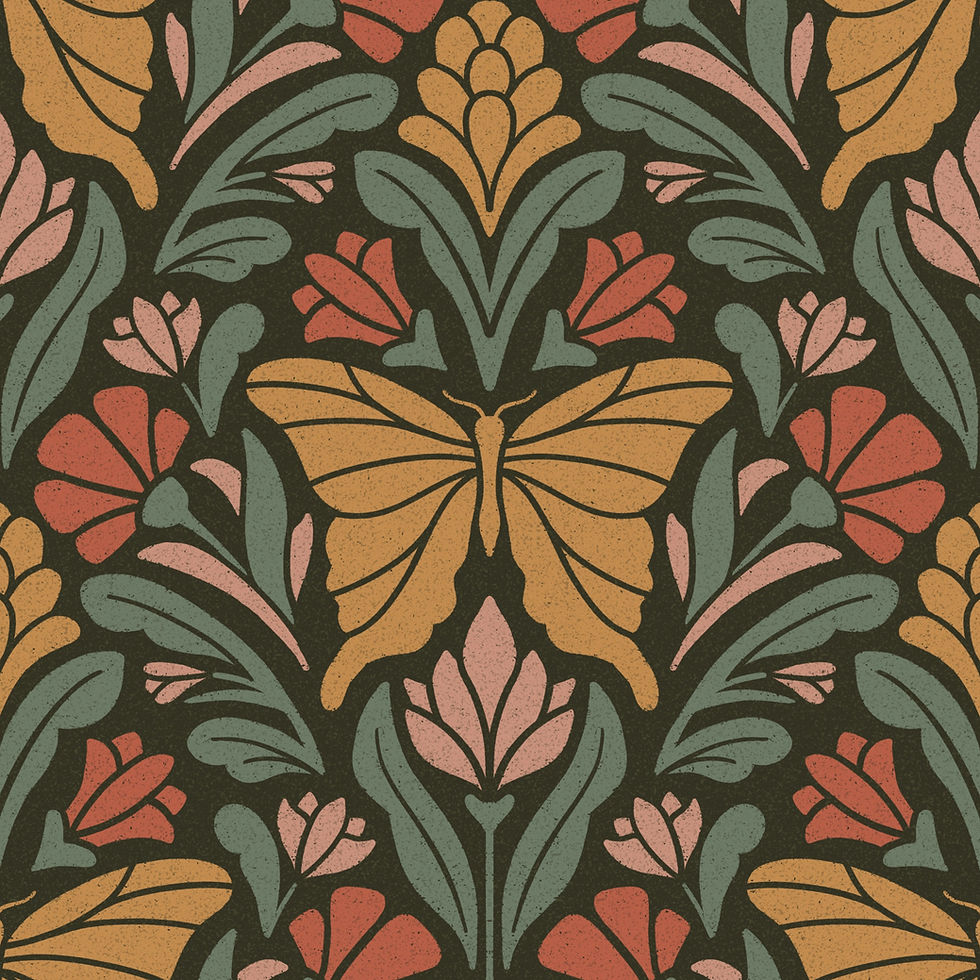
I created this pattern as a one-off print but later on I thought it would work nicely as a monochrome for a new pattern collection I was working on.
You can see below how I adapted it into a couple of monochrome versions to work as supporting prints in my Winged Serenade collection.


By taking a pattern I'd already created and making it monochrome, I was able to change the style and feel of the pattern quite significantly and create a colourway that fitted a collection I was working on (without creating a whole new pattern!)
How to change a full colour pattern into a monochrome
Firstly find a full colour finished pattern that you want to turn into a monochrome.
Open it in Procreate and make sure the whole pattern is on one layer (make sure you have saved your original file or are working on a duplicate!)
On the layers panel, tap the pattern layer and select Alpha Lock.

Now select the colour you'd like to change your pattern to.
Tap the layer again and select Fill Layer.

You can now also add a different background colour on a layer underneath if you'd like to.
Now to make multiple colour variations, just select a new colour, tap the layer and select Fill Layer. You can even swap the background colour and the pattern colour for an added variation!
Considerations
You may notice that if you are doing this with a very detailed pattern with lots of colours layered on top of each other, the detail is lost.
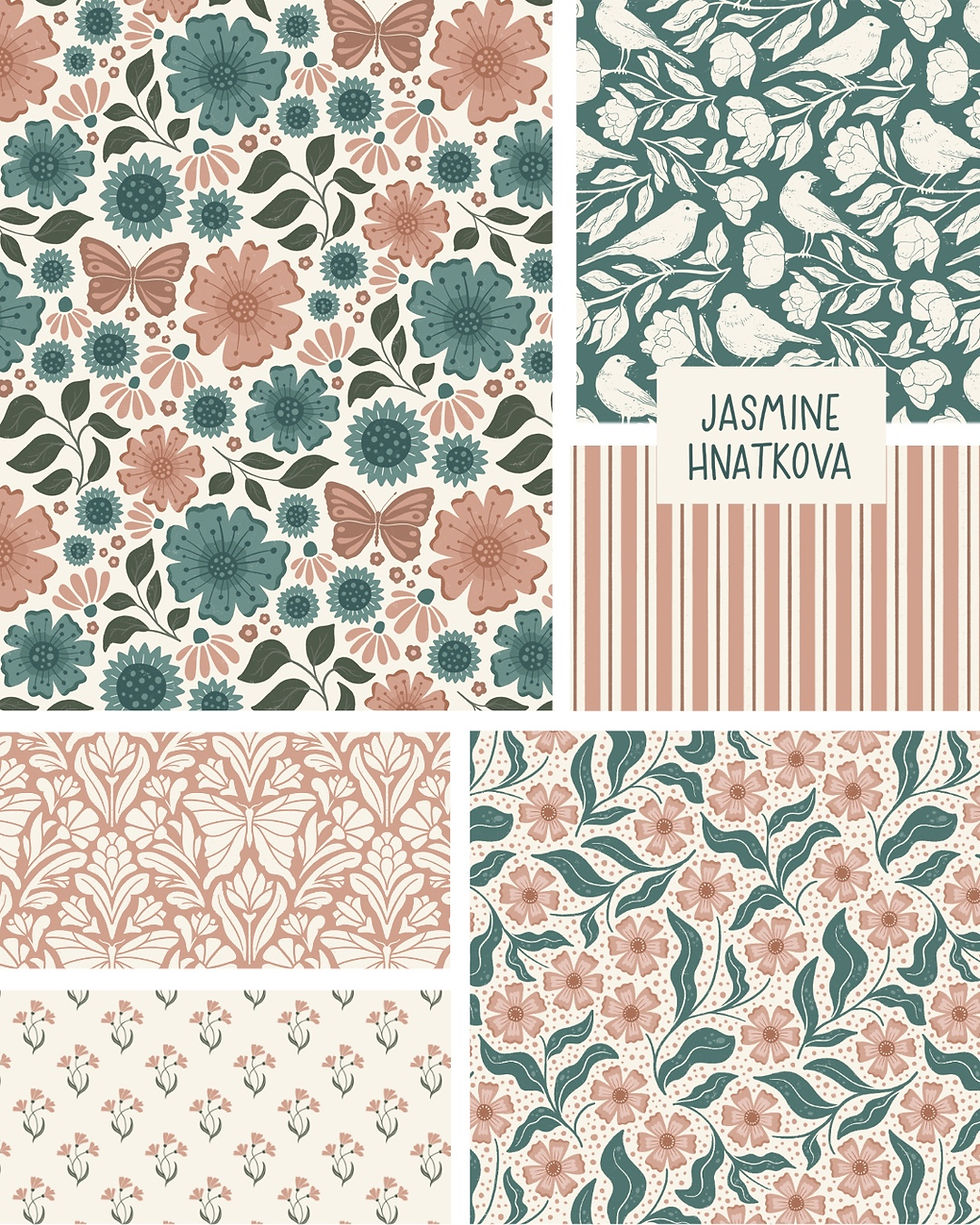
You can see below that if I turn this flowing floral into a monochrome the detail on the flowers is lost as it all becomes one colour. However, if you scale it down to a smaller print, it would still look good as a supporting print.


This is why if I am using this technique the patterns often become secondary or blender prints in my pattern collections as they are a lot less detailed. But it's totally fine to have simpler patterns in your portfolio and collections.
You may also find that for some patterns, such as patterns with lots of overlapping elements, this technique doesn't work so well as the monochrome makes the elements indistinguishable from each other.
You'll need to play around and see what works!
Let me know in the comments if you'll try this technique and if you have any questions - I'm always happy to answer them if I can :)


This did not work for me. When I select 'fill layer' even with alpha lock on, the whole canvas is just filled solid. What am I doing wrong.? Thank you!